You can load the ETL into a Excel file, and save the new file to a shared folder location. When the ETL is run, the data will be loaded into the given file. Each table in the ETL will be converted into a worksheet. To use a Excel file as a target, add the Excel node from the Targets panel to the data flow.
Configure an Excel Target
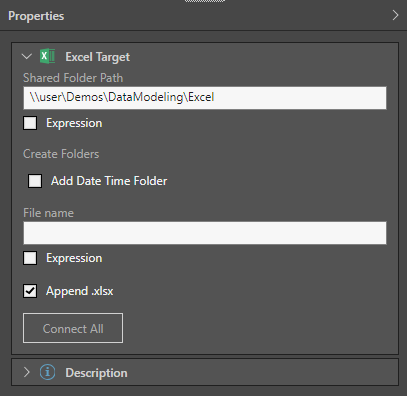
From the target's Properties panel, name the new database that will be created, and provide a pointer to a shared folder where the file will be located:
- Database Name: name the new database that will be generated when the ETL is run.
- Shared Folder Path: provide a pointer to a shared folder where the new database will be saved.
- Expression: create a dynamic PQL expression to point to the shared folder path.
- Add Date Time Folder: create a folder named according to the date and time at which the ETL is run, and save the database file inside this folder.
- Automatic File Naming: assign the names of the data flow tables as file names. Disable to manually provide file name, or create an expression to provide file names.
- If you add multiple tables, this option will be enabled by default.
- File Name: if automatic file naming is disabled, you 'll need to enter the file name. This can be a static value or a PQL expression.
- Append .xlsx: append the excel file extension to the files.
Finally, click 'Connect All' to connect the target node to the data flow. As usual, you can add a description to the node's Properties panel.
Description
Expand the Description window to add a description or notes to the node. The description is visible only from the Properties panel of the node, and does not produce any outputs. This is a useful way to document the ETL pipeline for yourself and other users.
Run the ETL
As there is no database or in-memory destination, the Data Model and Security stages are not relevant. Skip these steps and simply run the ETL from the Data Flow.
- Click here to learn how to process the ETL.
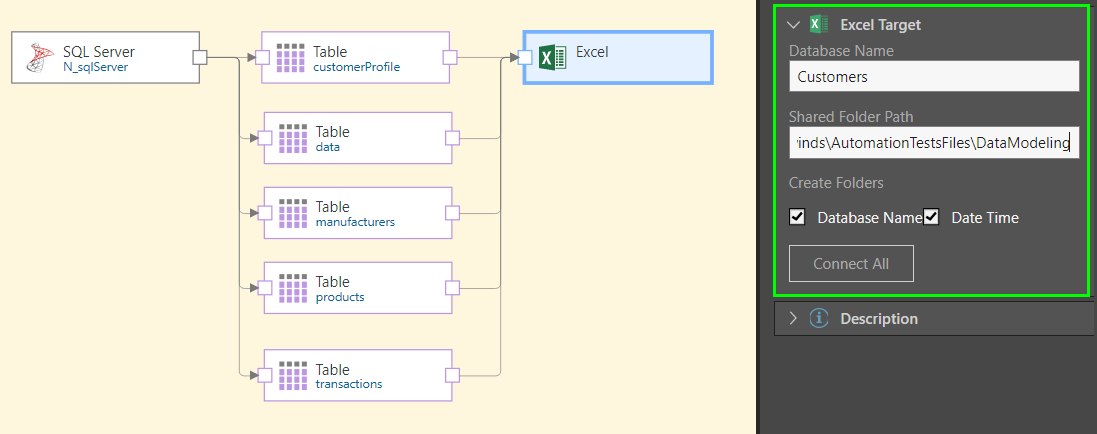
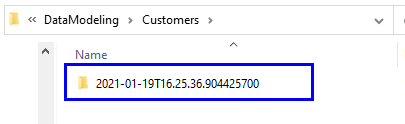
In this example, the ETL was loaded from an SQL server into an Excel file. As seen in the Target properties (green highlight below) the Excel target database was named 'Customers' and saved to a shared folder call DataModeling. Both Database Name and Date Time folders were enabled before connecting the tables to the target. The next step is to process the ETL.
Once the ETL is executed, the Excel file is saved to the given folder location, inside the Database Name folder and Date Time subfolder. Here we see the database folder 'Customers':
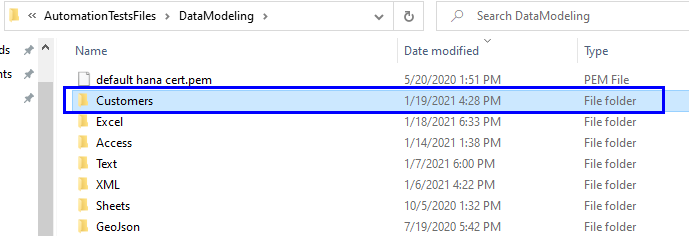
Inside the 'Customers' folder is the Date Time subfolder:
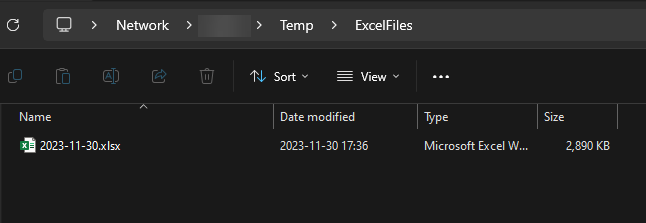
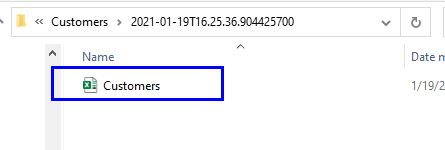
The excel database file is inside the Date Time subfolder. Each table in the ETL is converted to a worksheet table in the Excel file.
In this example, the file name was given as a PQL expression:
Date()
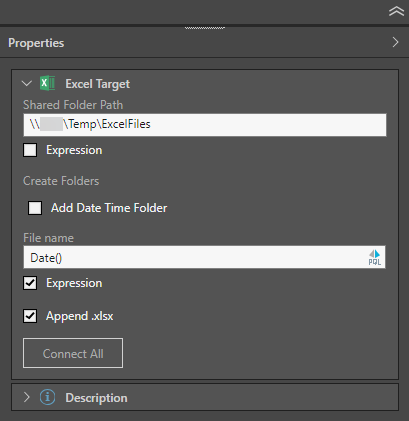
When the data flow is executed, the ETL is loaded into the given folder path, and the file name is the current date: